
Mini Doll Pirate Hat/Tricorn Hat Tutorial!
(estimated time to hand-sew the hat: 40 minutes)
9.18.09
This is both an episode of Kirsten's Adventures, and also a tutorial to make a pirate hat for an American Girl Mini Doll! It will also work for other small toys and is even OK for Barbie.

Mini Kit is a 6.5-inch-tall doll who came from 1934, but is much happier in 2009, where she can pretend that it's a fantasy version of the Renaissance and medieval times.
When we last left Mini Kit, she was running in terror.
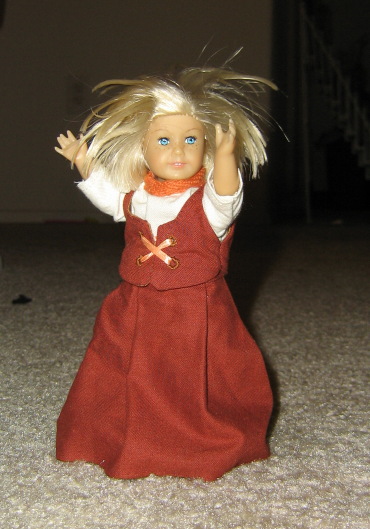
"Aaaaaieeeee!!!" she screamed. "A ghost!"
Panting, she ran towards May, Nellie, and Kirsten....
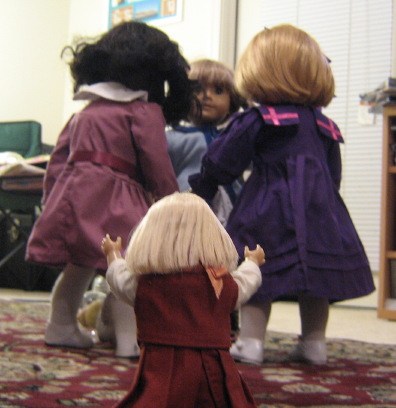
...who were still preparing to play a game.
"Mini Kit!" Kirsten yelled. "We're not playing 'scream your lungs out.' Go away!"
Since it was Kirsten's belated birthday party, even sweet Nellie didn't jump to Mini Kit's defense. Adrenalin still racing through her limbs, the terrified mini doll tried to find someone, anyone who would help...
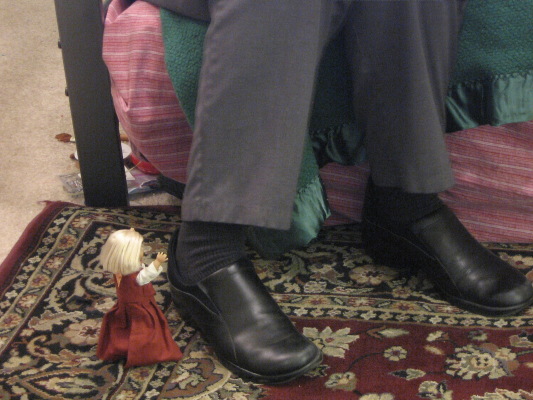
"Miss Cheap Lady! Help me! Save me! Help me! Save me!"
"Mini Kit," I said. "What's wrong?"
The little doll climbed up and gave me a big hug.
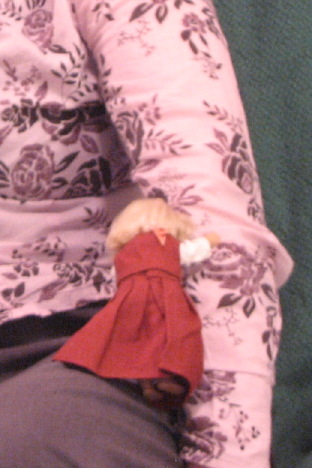
(Poor Mini Kit had run away so fast, she evidently lost her shoes, too. :( )
"Miss Cheap Lady, I'm scared! There was a--a--a ghost in your bedroom!"
Trying to comfort Mini Kit, I said, "I don't think it was a ghost. You certainly shouldn't be scared. Aren't you a brave warrior princess?"
Mini Kit sniffed. "But I lost my sword!"
"Then maybe you should go get it back."
Mini Kit just trembled.
"Mini Kit," I said. "Do you think you could be brave if you were a pirate?"
"I'm not a pirate," Mini Kit said.
"What if I made you one?"
"How?" Mini Kit scowled. "You're not going to cut off one of my hands, are you? Or restring me with a pegleg?"
"Of course not! But I can make you a pirate HAT, at least."
Mini Kit sniffed again. "I guess."
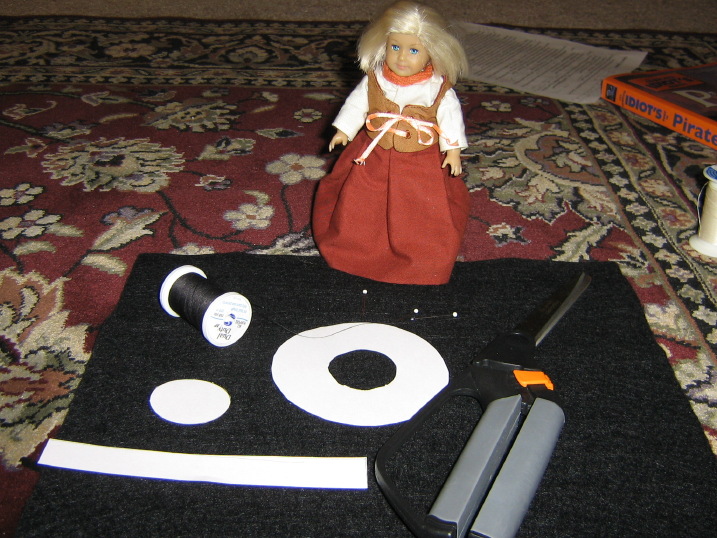
To make a Mini Doll pirate hat, you'll need:
*A 9 x 12 sheet of felt (you'll only use a little bit, so a scrap might work)
*Thread (to match the felt is best)
*A needle
*Four pins (optional but recommended)
*Scissors
*Pattern (approximately 1/8 inch seam allowance; if you want more please add it in)
| 1. Print the pattern, then check to be sure that the scale is right. You can measure the long side of the hat band to make sure it's 5 inches long. If it is, then the pattern is to the right scale! If it is not the right scale, check your print settings to make sure they do NOT say to resize to fit page. When you have the pattern, cut it out. If you have pins, pin the pieces to your felt. |
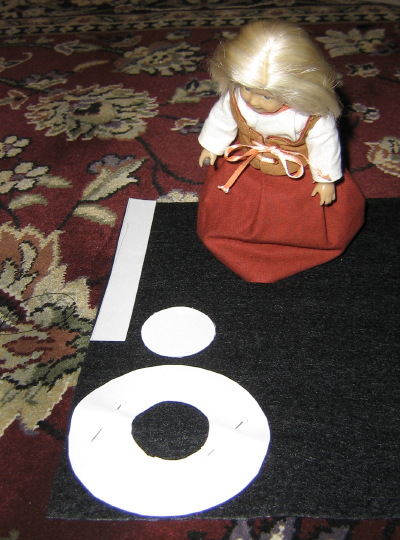
"Look how nicely I laid out the pieces!" Mini Kit said.
| 2. Cut out your felt hat pieces. |
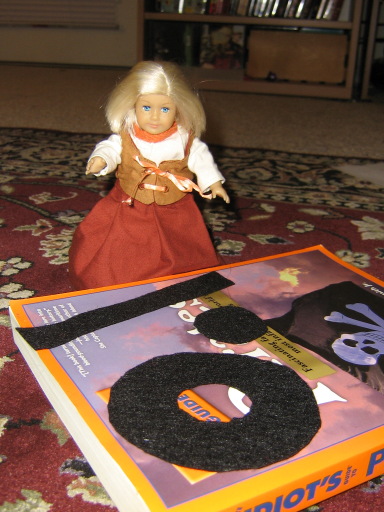
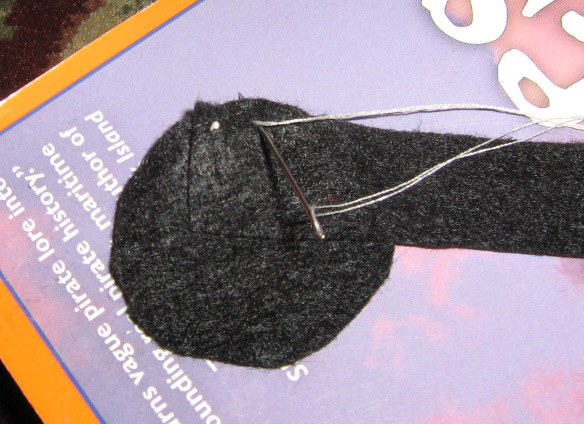
| 3. Sew the hat top (the small round piece) to the band (the long piece). You must sew VERY close to the edge! If you've never sewed before, this page might help you. I always do double-threaded sewing, myself. This hat is made of felt, so you can (and MUST) sew VERY close to the edge. Leave a TINY seam allowance, like 1/8 inch! (I used white thread here so you can see the stitches.) |
"Look how nicely I laid out the pieces!" Mini Kit said.
| One more time-- sew VERY CLOSE to the edge! Put the band on top of the hat top, and start sewing it, bending the band to go around the curve. |
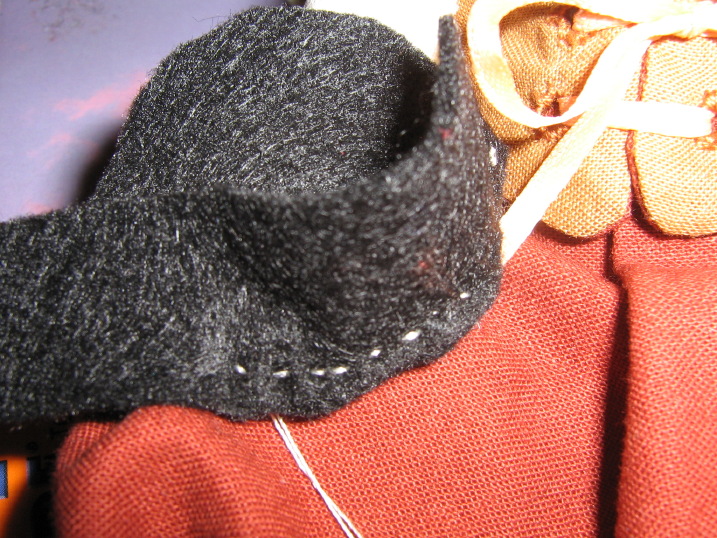
| Just bend as you sew. |
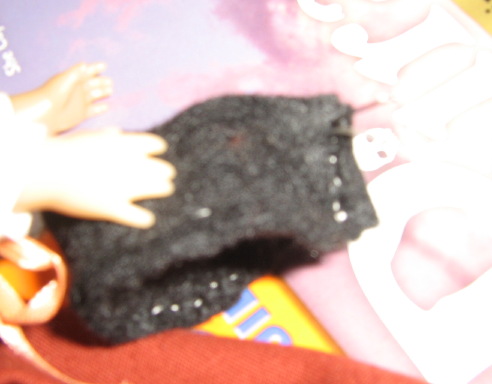
| 4. When you've sewn around, sew the ends of the brim together. I sewed them together by pressing the "right" sides/insides together and then sewing up the back, so that the edges won't show when it's turned. |
"Look what a great seamstress I am!" said Mini Kit.
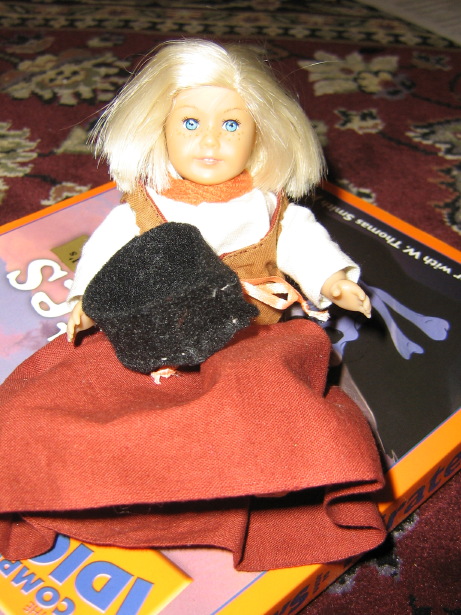
| 5. Turn the hat inside-out, so that the seams are inside. This makes the CROWN of the hat. |
Here is what it should look like when you're done.
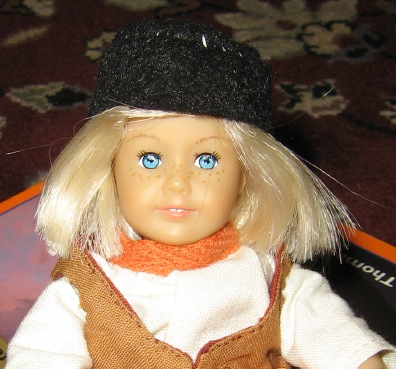
"This is cute, but I'd rather have a sparkly crown," Mini Kit said.
Not that kind of crown, Mini Kit!
The next part is the trickiest.
| 6. With your hat turned RIGHT-side out, put it through the donut-shaped brim, so that the bottom edge of the crown is flat the inside edge of the brim. You can pin it if you like. |
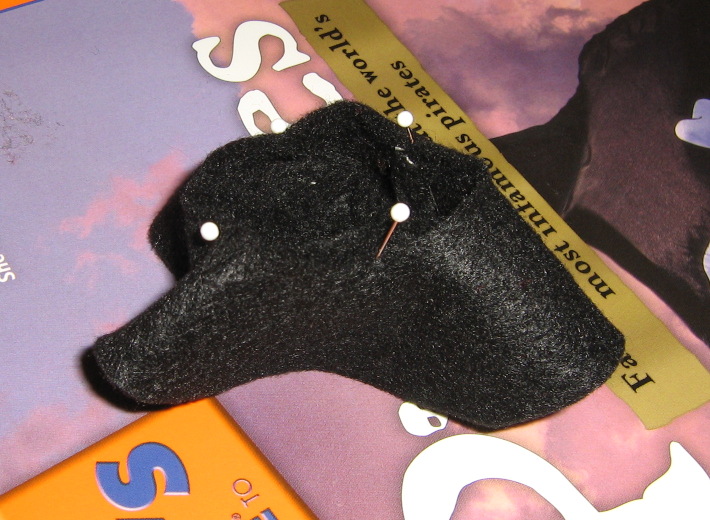
| 7. It may be easier to see on this brown hat. Note the edge on the left side--just nudge the brim up a little so that it's flush with the edge of the crown, and start sewing! |
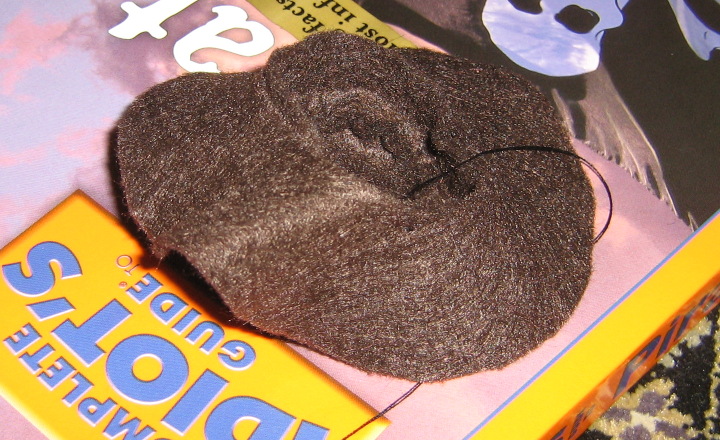
(If you're having trouble, try putting it together, then turn it upside-down and see if it matches the picture below. The reverse should look like this.)
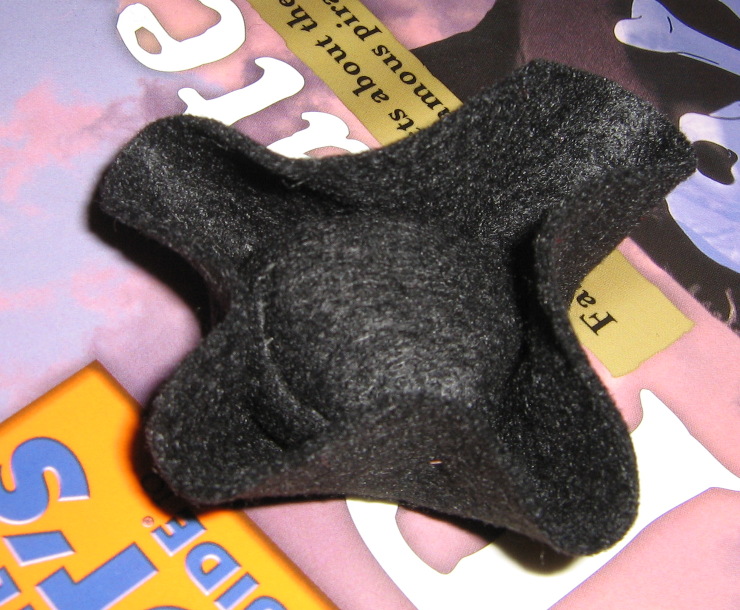
| 8. Once you've sewed the crown to the brim, tie off your thread and cut it off. |
If you are going to want trim on your finished pirate hat, here is when you would sew it on. If you're doing pirate trim, make sure you put your trim on the BOTTOM of the hat, the side that's facing Mini Kit now. Then it will show up on the top of the hat when you're done.
Or, if you happen to want a flat-brimmed hat, you are all done! It would make a cute hat for Mini Rebecca. If I had her.
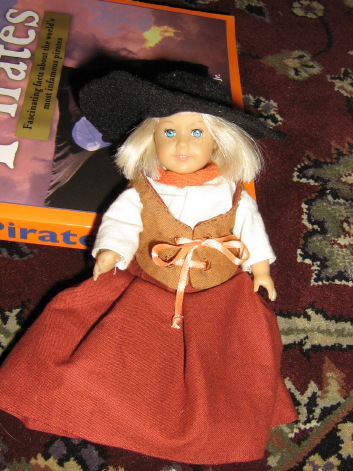
"But you said you'd make me a pirate hat!" Mini Kit complained.
All right, all right.
| 9. To make a pirate hat, you'll bend the hat into a triangle shape. It is helpful to pin the brim to test how it looks. |
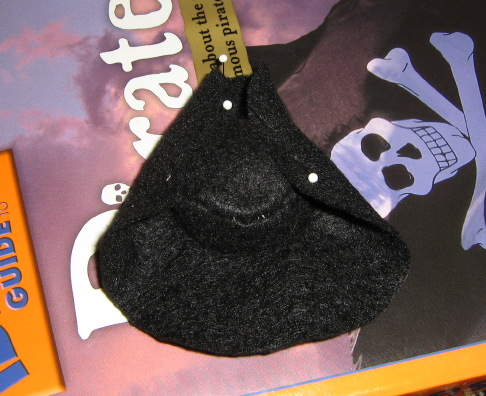
| Keep arranging the bent edges until you get a nice shape. |
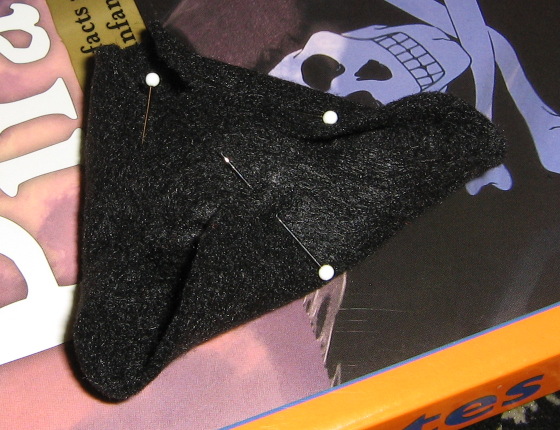
You can test-fit it on your doll, if you like.
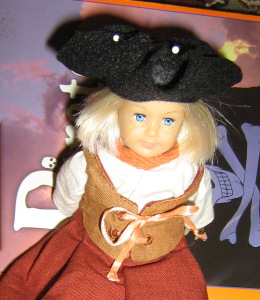
"Be careful not to poke your doll's head!" Mini Kit said.
| 10. The last step is to use a couple small stitches to "tack" the brim to the crown in those three places where you pinned it. |
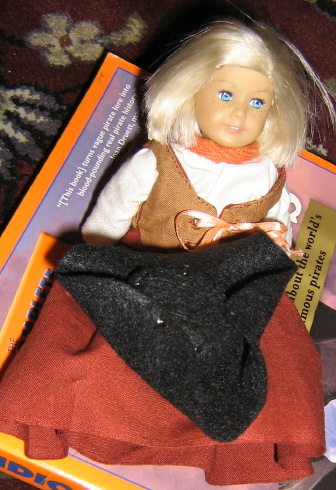
If you want some decoration for the hat, you can sew a real feather to it, or if you don't have one...
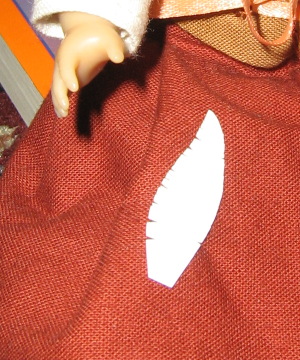
...you can make one out of paper!
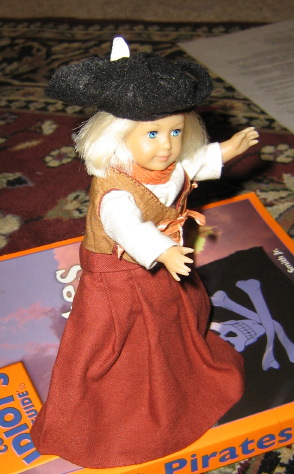
"Arrrrrrrrrr!" Mini Kit said.
The hat is designed for American Girl mini dolls, but it can work on...
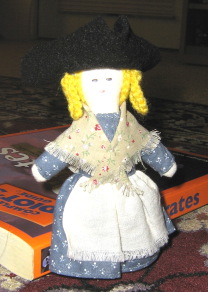
...your doll's doll...
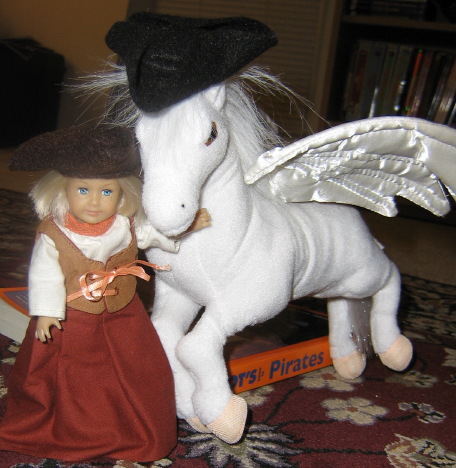
...your pegasus friend Hwin...
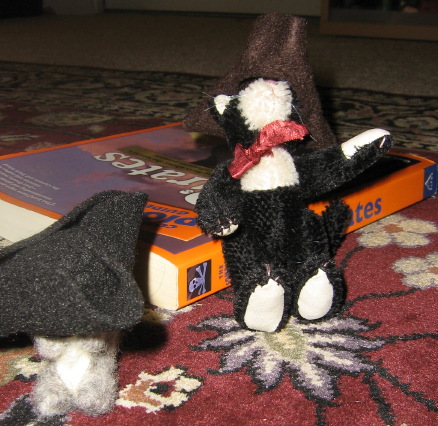
...or even tiny plushies! (I don't recommend it for tiny squirrels, though. Sammy does not look pleased.)
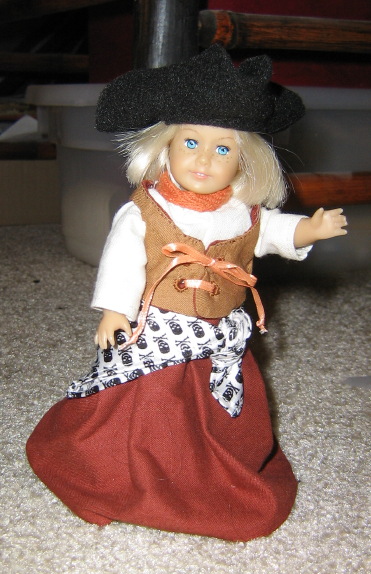
I gave Mini Kit a pretty pirate scarf (from Re-Ment), too.
"I feel much braver now," Mini Kit said. "Now can you tell me about the ghost?"
Er, oops, we're out of time! ::shifty eyes::
On to 9.30.09
If you haven't read Kirsten's Adventures before, there are a lot more stories on the main page; just click below. :)

If you have any problems with the pattern, please email misscheaplady@juliestudio.com. Thanks!